CREATE / PAPER ANIMATION WORKFLOW

HOW TO MAKE PAPER ANIMATION THAT HOLDS UP IN A REAL EDIT

The fastest way to make a paper animation is to decide what the paper is doing before touching the controls. Is it opening, stacking, tearing, or carrying a headline? Once that answer is clear, the source image, timing, and output format become much easier to choose.

UPDATED AUG 15, 202610 MIN READ
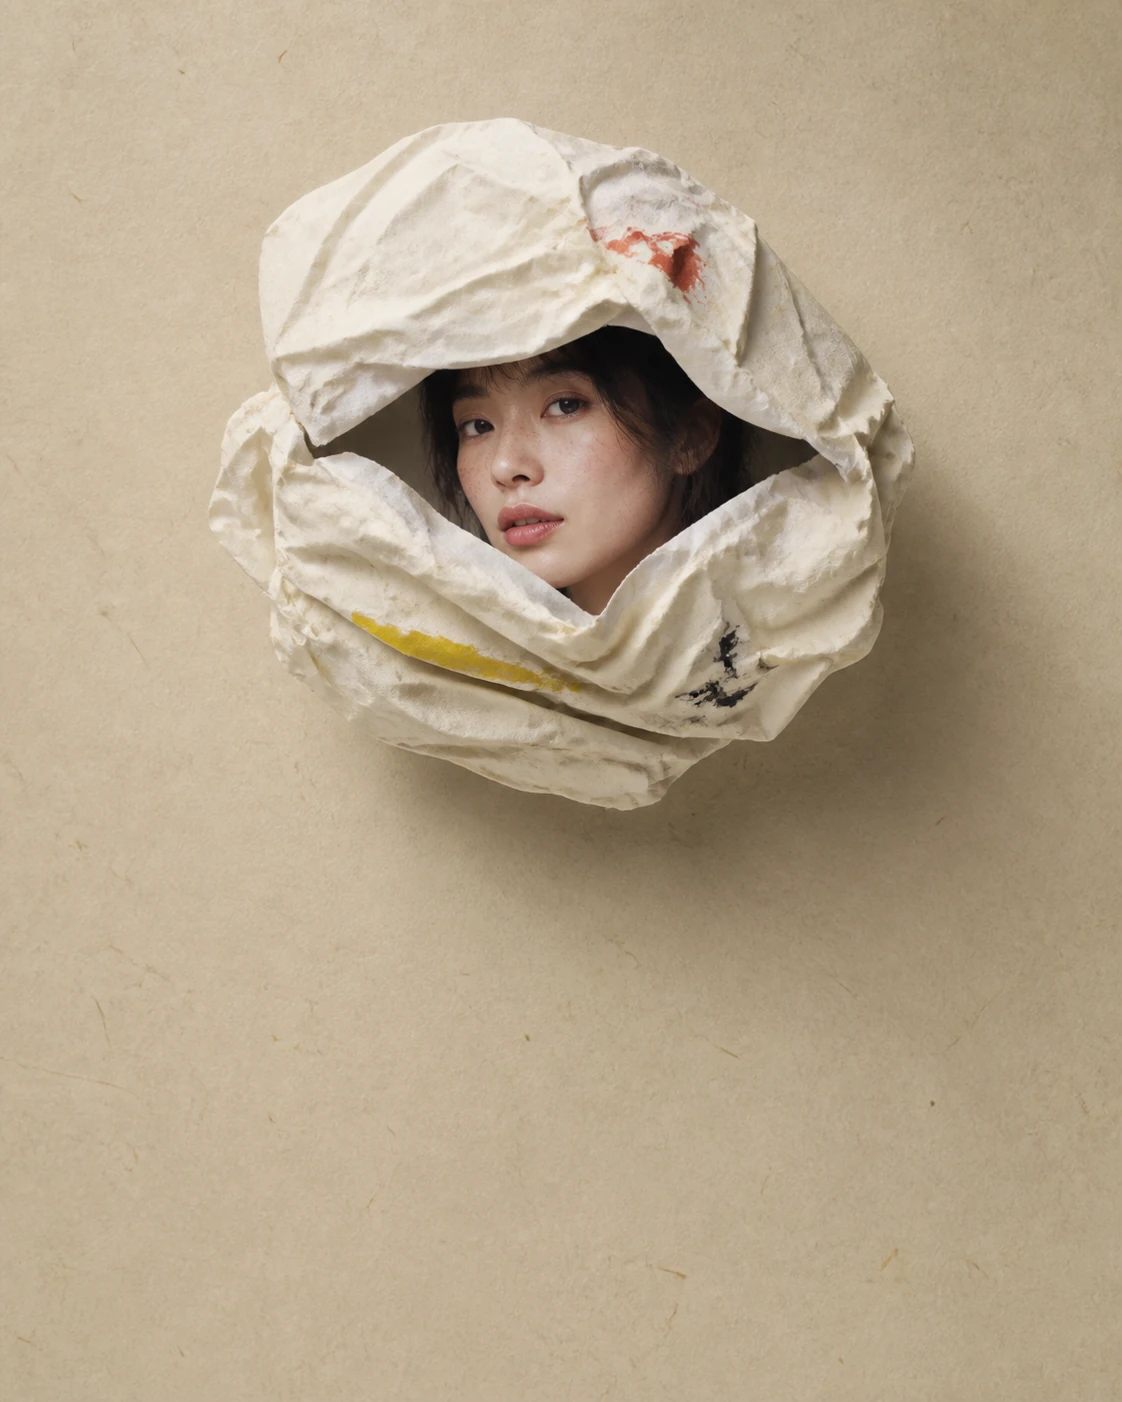
Paper fold material staged for a vertical paper animation
IMAGE / EDITORIAL NOTE01
01

1. START WITH A SPECIFIC VISUAL JOB

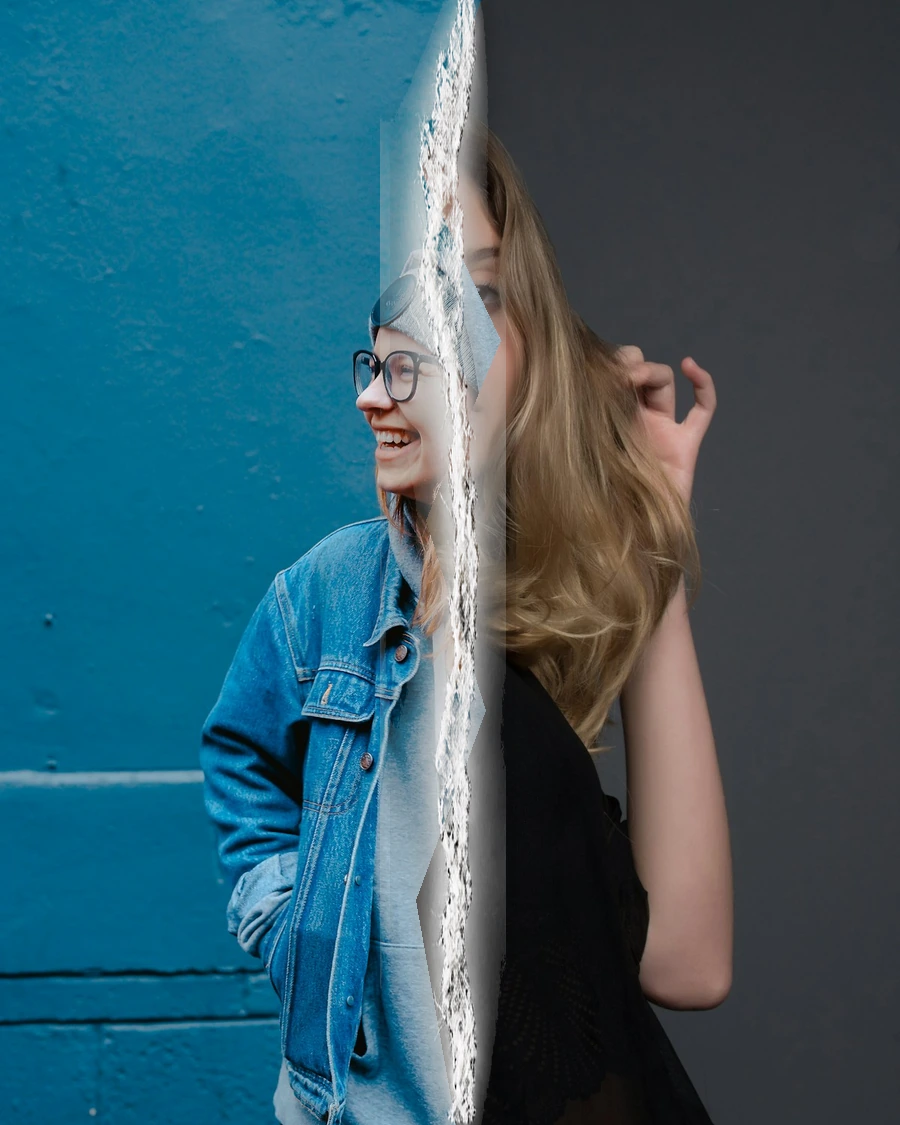
Paper animation works when the material changes the meaning of the shot. A fold can make a portrait feel like an introduction. A newspaper layout can turn a product image into a statement. A stack can give a group of photos a beginning and an ending. A tear can mark a before-and-after change.

Write the job in one sentence before choosing a template. For example: open on the finished portrait, fold the paper away, and leave the face full screen for half a second. That sentence gives you a start state, a transition, and an end hold. It also prevents the paper from becoming decoration that delays the important frame.

This sentence is useful when you compare tools, too. A preset that looks impressive in isolation can still be wrong for the edit if it hides the image for too long or ends without a usable hold. Treat the paper motion as a small shot with a beginning, a middle, and a final composition.
02

2. PREPARE THE SOURCE IMAGE

Use the largest clean version of the image you have. A portrait with the eyes near the upper middle is a strong source for a vertical reveal. A product shot benefits from breathing room around the edges. A graphic with small text needs extra resolution and a crop that keeps the copy away from platform controls.

Check the image at the final aspect ratio before uploading. The preview should show the same important subject that you want in the exported video. If a face sits close to the right edge, leave room for the TikTok interface. If the image contains a logo or headline, keep it inside the central safe area rather than relying on a last-minute scale adjustment.

A plain test background helps here. View the source in a vertical frame with no texture, then view it under the paper motion. If the subject is hard to find before the animation begins, paper fibers and shadows will not solve the composition. Move the focus or choose a different source while the change is still cheap.

  • Choose JPG, PNG, WebP, or AVIF when the file is available in a clean export.
  • Keep faces, products, and logos away from the top, right, and bottom overlay zones.
  • Use a source with enough contrast for paper fibers and contact shadows to remain visible.
03

3. CHOOSE THE MOTION THAT MATCHES

Crush Reveal is the most direct paper animation maker workflow: one image enters as a physical paper object and opens into the image. Newspaper Highlight is better when the words carry the hook. Scrapbook Photo Stack is built for three to eight images. Torn Paper Wipe is the clean choice for Before and After.

The template name matters less than the final frame. Watch the last half-second of the preview. The viewer should know what to look at after the paper has finished moving. That final image is where the clip earns its place in a longer edit.

Use the shortest template that explains the idea. A 1.6-second torn wipe can bridge two prepared shots without slowing the edit. A 4-second scrapbook sequence needs several images to justify the extra time. Duration should follow the number of visual decisions the viewer has to make.

04

4. USE TIMING AS EDITING, NOT DECORATION

For a TikTok hook, the main visual change usually belongs in the first second. A fast preset can complete the paper entrance early and leave a compact hold. An editorial preset gives the headline or photograph time to settle. A dramatic preset gives the reveal enough room for a voice-over or a deliberate beat.

Preview the clip at normal speed, then at 0.25x. Slow playback reveals jitter, sudden scale changes, and a paper edge that arrives before the image behind it. Fast playback reveals whether the motion still reads as one physical event rather than a collection of unrelated layers.

I also check the first 24 frames separately. The first second carries the hook, and a slow paper entrance can spend that attention before the viewer has seen the subject. If the source image is the hook, let the change arrive early and reserve the later frames for recognition.

05

5. KEEP TYPE PROGRAMMATIC

When the template includes a headline or cutout phrase, type the words into the studio. The text should be rendered by the browser and the export composition. This keeps punctuation, line breaks, and character shapes under control. It also means you can revise one word without regenerating a paper surface.

Short phrases work better than paragraphs in a vertical opening. Give the viewer one idea to read. Use the paper texture for atmosphere and use the typed text for meaning. That division keeps the clip legible after TikTok, Reels, or Shorts recompresses it.

Line breaks deserve a deliberate test. A phrase that fits on a desktop can become three lines on a phone once the studio respects the paper margin. Read the text at the same size as the final post and remove any word that exists only to fill the page.

06

6. EXPORT A TEST BEFORE THE FINAL

Start with 1080 x 1920 at 30 FPS for a normal social edit. Export a short test and place it beside the surrounding footage. Check the cut point, the first visible paper edge, the final hold, and the crop after the editor scales the clip. A video that looks correct in a browser preview can still feel too slow once it sits next to a fast talking-head shot.

Use 60 FPS when the surrounding sequence needs smoother high-speed motion and the device can complete the render reliably. The higher frame rate helps with small edge movement, though it cannot repair a weak crop or an unclear start state. The source composition still does the important work.

Name the test file with the template, resolution, frame rate, and seed. That simple record makes two exports easy to compare. It also makes a failure actionable when a browser runs out of memory at 1080p but completes the same project at 720p.

07

A REPEATABLE CHECKLIST

Before publishing, watch the exported MP4 from the first frame without scrubbing. The paper should enter from a clear state, the subject should remain recognizable, and the end should hold on a frame worth keeping. Then inspect the file in the target editor and confirm that its frame rate and orientation match the project.

Save the phrase, settings, and seed with the final file name. A small record makes iteration faster when a client asks for a different paper tone, a faster hook, or a new crop. Repeatability is part of a usable paper animation maker, especially when a good version needs several platform-specific exports.

The last check is emotional rather than technical: watch the clip once without pausing and ask whether the paper makes the reveal feel more intentional. If the answer is unclear, simplify the motion or shorten the hold. A focused paper animation usually feels more finished than a busier one.

08

WHEN THE FIRST VERSION FAILS

A weak result usually points to one of four causes: the source image is poorly placed, the template is carrying the wrong job, the motion starts too late, or the paper layer stays visible after the reveal. Diagnose the first visible problem instead of changing every control at once. A new seed can change the arrangement, yet it cannot repair a subject that is already outside the safe area.

If the paper feels flat, inspect the contact shadow and the boundary before asking for more texture. If it feels noisy, reduce the number of moving layers and give the final image a longer hold. If the text feels hard to read, shorten it, increase the contrast, or move it into a cleaner line break. These changes tend to improve the clip faster than adding another preset.

Keep the failed export while you compare the revision. Give each version a small label such as source-crop, fast-preset, or final-hold. That record turns an intuitive visual review into a repeatable editing process and makes it easier to return to the version that already worked.

When the same issue appears across several source images, treat it as a template problem and record the frame range. When it appears once, treat it as an input problem and adjust the crop or focus. Separating those two cases keeps a single difficult photo from driving unnecessary changes to a working motion system.

Once the cause is clear, make one change and render again. A controlled second pass tells you whether the fix improved the shot. Several simultaneous changes can produce a better-looking frame while leaving you unsure which setting should become the default for future projects.