CREATE / REALISTIC PAPER ANIMATION

WHAT MAKES PAPER ANIMATION LOOK REAL?

A paper effect becomes believable through several small signals arriving together. Texture alone can look like a background. A shadow alone can look like a drop shadow. The illusion becomes physical when the edge, fold, occlusion, light, and image reveal agree about the same piece of paper.

UPDATED AUG 15, 202611 MIN READ
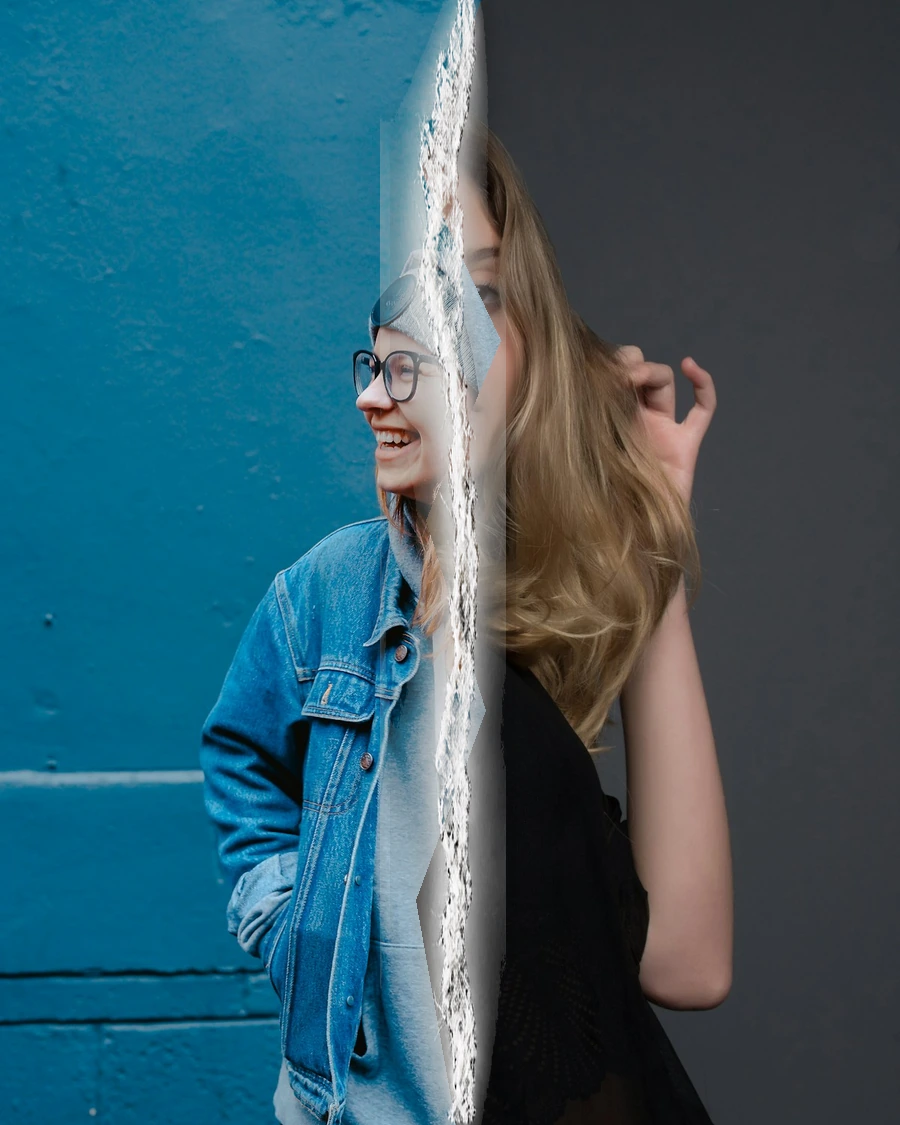
Torn paper edge revealing a second image in a Paper Animation preview
IMAGE / EDITORIAL NOTE01
01

TEXTURE IS ONLY THE FIRST CUE

A flat paper texture can make a rectangle look like paper in a still image. In motion, the viewer watches what happens at the edge. The texture must change with the surface, remain attached to the moving layer, and sit at a believable scale. Large repeated fibers give away a digital overlay quickly. Subtle variation makes the surface feel closer to a scanned material.

The useful texture has a job. Newsprint can carry ink absorption and small roller marks. Cardstock can carry a soft tooth and compressed fibers. A torn edge needs long strands and a darker underside. Each material should be selected for the motion it supports rather than placed everywhere at the same opacity.

Scale is the first practical test. View the material in the final vertical canvas, then zoom into the edge at 100 percent. If a single fiber is larger than the subject detail it sits beside, reduce the texture or choose a finer source. The paper should be felt across the frame and inspected at the edge, not read as a repeated pattern.
02

CONTACT SHADOWS EXPLAIN DISTANCE

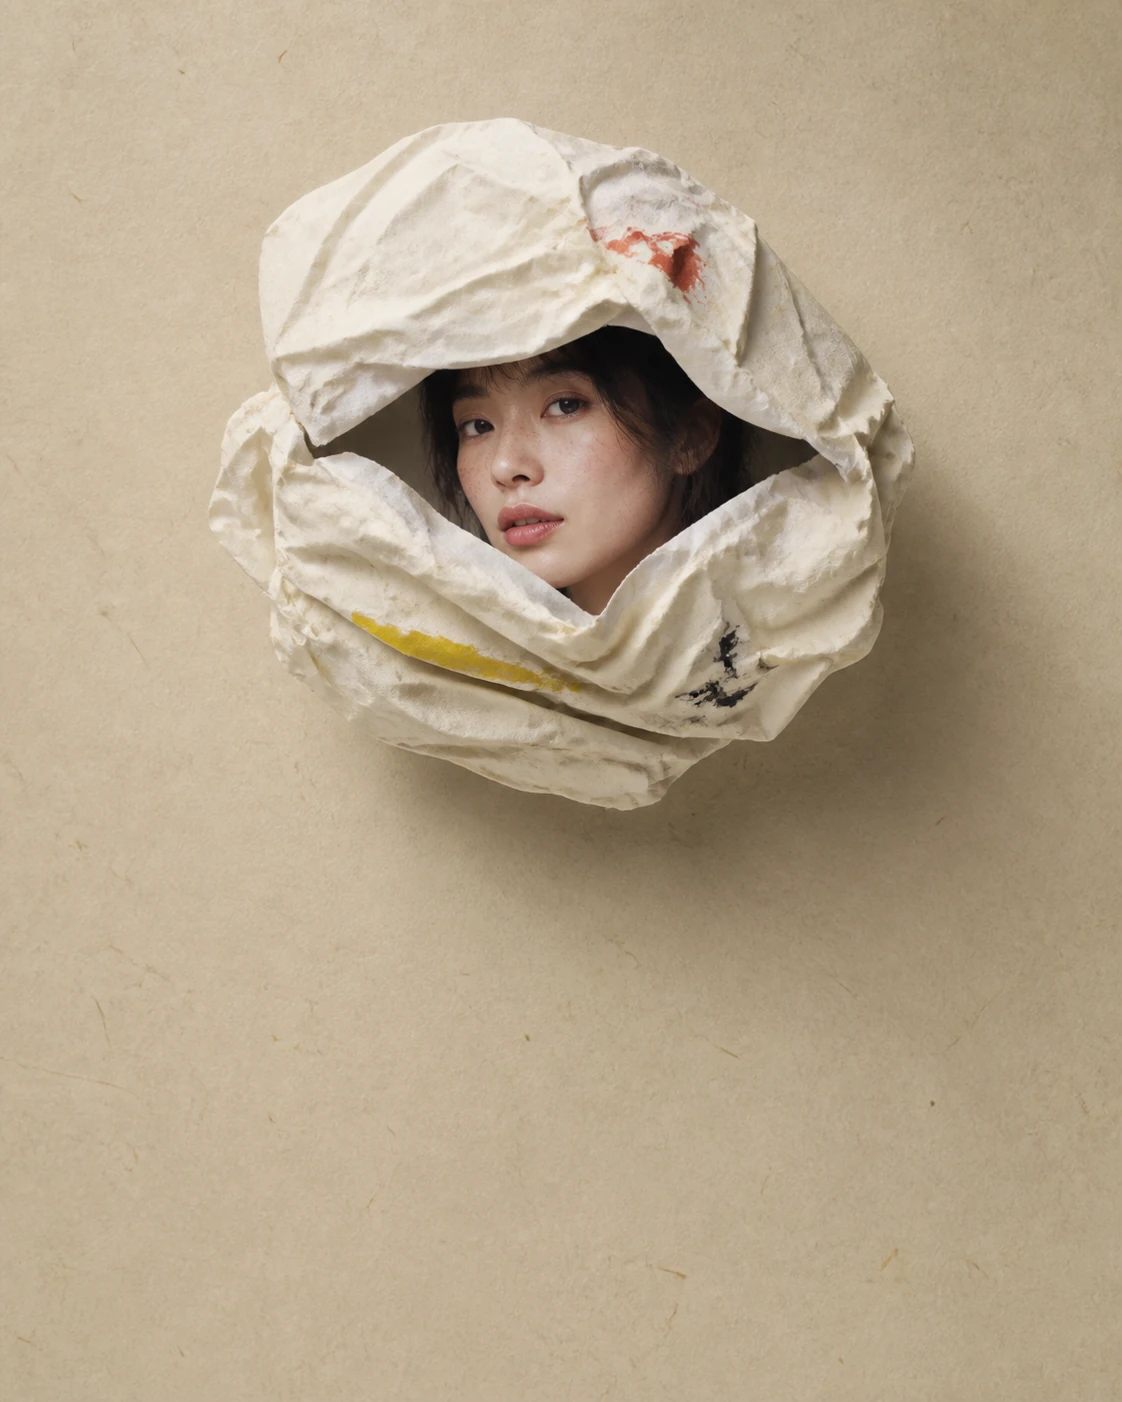
A contact shadow tells the eye where one surface sits above another. It should be darkest near the contact and soften as it moves away. A uniform black shadow around the whole object reads as a sticker. A directional shadow with a small amount of spread gives the paper a relationship with the surface below it.

The shadow must also change as the paper moves. A sheet that lifts from the page needs a growing gap and a softer footprint. When it settles, the footprint tightens again. This is why shadows are generated at render time in the image-first templates instead of being baked into a single fixed asset.

Light direction has to agree across the scene. A shadow falling below the paper while the source image has a strong highlight from the opposite side creates two competing worlds. A neutral studio setup gives the material a stable baseline, then the renderer adds only the depth needed for the motion.

03

OCCLUSION MAKES THE ORDER CLEAR

The viewer needs to know which part of the paper is in front. Occlusion is the quiet structure behind that reading. In a fold reveal, the foreground plate covers the image until the crease passes. In a scrapbook stack, the top card covers the edges of the cards below. In a torn wipe, the fiber edge sits above the image boundary while the After image appears behind it.

If every layer is translucent and visible at once, the object loses depth. If a paper layer disappears before the image reveal reaches it, the cut looks like a mask. The timing of these layers has to be designed as one event, with the visible edge leading the next image by a small, consistent amount.

The order is easiest to debug with temporary flat colors: blue for Before, red for After, green for paper, and white for fibers. Once the clips line up under those colors, bring the materials back. This test catches a layer-order error faster than inspecting similar off-white paper surfaces.

04

CREASES NEED DIRECTION AND PRESSURE

A crease is a change in the plane of the paper. It affects brightness, texture scale, and shadow direction. A fold that rotates without a changing crease behaves like a flat card. A fold that includes a narrow darker valley, a brighter ridge, and a slightly compressed texture gives the eye a reason to believe the plane has turned.

The crease also needs restraint. Too much displacement makes the sheet look like rubber. Too many highlights make it look metallic. The paper should still feel thin and slightly imperfect, with the largest changes reserved for the moment when the fold carries the visual meaning.

A crease has a readable start and end. It can begin as a pressure line, deepen while the sheet turns, and flatten as the paper lands. Keeping that progression consistent across frames is more convincing than adding random wrinkles to every state.

05

THE EDGE HAS ITS OWN SCALE

A paper edge is close to the camera when its fibers are visible. That edge should move with the boundary that reveals the next image. A separately animated fiber strip can drift away from the actual mask, leaving a clean line or a transparent gap. The robust setup uses one deterministic boundary for the image, paper underside, and fiber layer, then gives the fibers a small controlled thickness.

The edge should also overscan the frame. When a diagonal tear enters from outside the canvas, a short asset can run out before the boundary does. Overscan and a source texture that spans the whole motion path keep the first and last visible pixels covered.

The final frames deserve a dedicated edge test. Force the reveal to 0.99, 1.0, and the first frame of the hold. The last visible fiber should leave with the paper, while the After image should cover the entire canvas. This is where a small mismatch becomes a conspicuous corner or straight line.

06

MOTION BLUR CONNECTS THE FRAMES

Small paper layers can move several pixels between 30 FPS frames. Without a little blur, the edge appears to vibrate. Directional motion blur connects the path while preserving the fibers at the moment the tear slows. The blur should follow the travel direction and ease with the movement; a constant blur across the hold makes the final image look soft.

Subpixel motion helps too. A fold that advances in whole-pixel steps can shimmer at phone scale, especially along a high-contrast dark edge. Consistent frame timing, fractional transforms, and a final hold provide a steadier read than adding more texture.

Use blur to connect movement rather than hide a bad path. If the edge still jitters with blur disabled, inspect the path and easing first. Motion blur should make a good trajectory feel continuous; it should not be the only thing keeping the transition together.

07

THE FINAL IMAGE MUST WIN

Physical detail supports the reveal, yet the uploaded image remains the reason for the clip. The final frame should be full, correctly oriented, and held long enough to recognize. A paper animation that ends on a partial crop or a leftover foreground layer feels broken even when its fibers look convincing.

The image-first templates therefore share a simple rule: outside the transition window, show a complete rectangular image. The paper exists to lead the eye into that frame. Once the reveal is over, the paper layer leaves the composition instead of competing with the subject.

That rule also helps the editor. A clean final frame can become a cover, a freeze, or the first frame of the next shot. A frame that still contains a decorative paper corner has fewer uses, even when the transition looked impressive in the middle.

08

HOW WE TEST THE ILLUSION

A realistic paper animation needs more than a still screenshot. Test the first, middle, and last frames at normal speed, then inspect a quarter-speed pass for edge drift and a frame-by-frame pass for flashes. Test both dark and light images, portrait faces, products with straight edges, and high-contrast graphics.

A useful acceptance check asks four questions: does the paper have a clear front and back, does the edge reveal the next image at the same time, does the subject survive the crop, and does the final frame stand on its own? Those questions catch more problems than adding another decorative texture.

Record the answer with the template version and seed. If the material pack changes later, the same seed can be rendered again and compared against the approved frame samples. That turns realism into a measurable regression check instead of a memory of how the effect used to feel.

09

A PRACTICAL MATERIAL HIERARCHY

When reviewing a paper animation, inspect the cues in this order: silhouette, occlusion, contact shadow, crease, texture, and micro-detail. The silhouette tells the viewer what object is moving. Occlusion tells the eye which surface is in front. The shadow explains distance. The crease explains the change of plane. Texture and fibers complete the surface after the larger relationships already make sense.

This order prevents a common production trap. A team can spend hours searching for a better paper scan while the reveal boundary still moves at the wrong speed. A perfect texture attached to a bad mask remains a bad transition. Fix the largest visual relationship first, then refine the material where the camera gets close.

It also gives the renderer a clear division of work. Static assets carry the character of the material. Programmatic layers carry scale, timing, crop, and depth. The same paper source can then support a portrait, a product image, and a graphic without baking one composition into the material itself.

A good review can therefore stay specific. Instead of saying that the effect feels fake, identify whether the edge is too clean, the shadow is detached, the crease lacks pressure, or the image appears before the paper opens. Each observation maps to a different asset or renderer decision.

This vocabulary is useful for comparing a WebGL preview with a final Remotion export. The preview can use a lighter texture or lower resolution to stay responsive, while the export should preserve the same edge path, layer order, and final image. Matching those structural cues matters more than matching every preview pixel.