IDEAS / PAPER ANIMATION EXAMPLES

PAPER ANIMATION EXAMPLES FOR HOOKS, RECAPS, AND REVEALS

The best template depends on what the viewer should understand next. These eight examples start with a small creative brief, choose an input, and set a pace that leaves the final shot useful in a real short-form edit.

UPDATED AUG 15, 20269 MIN READ
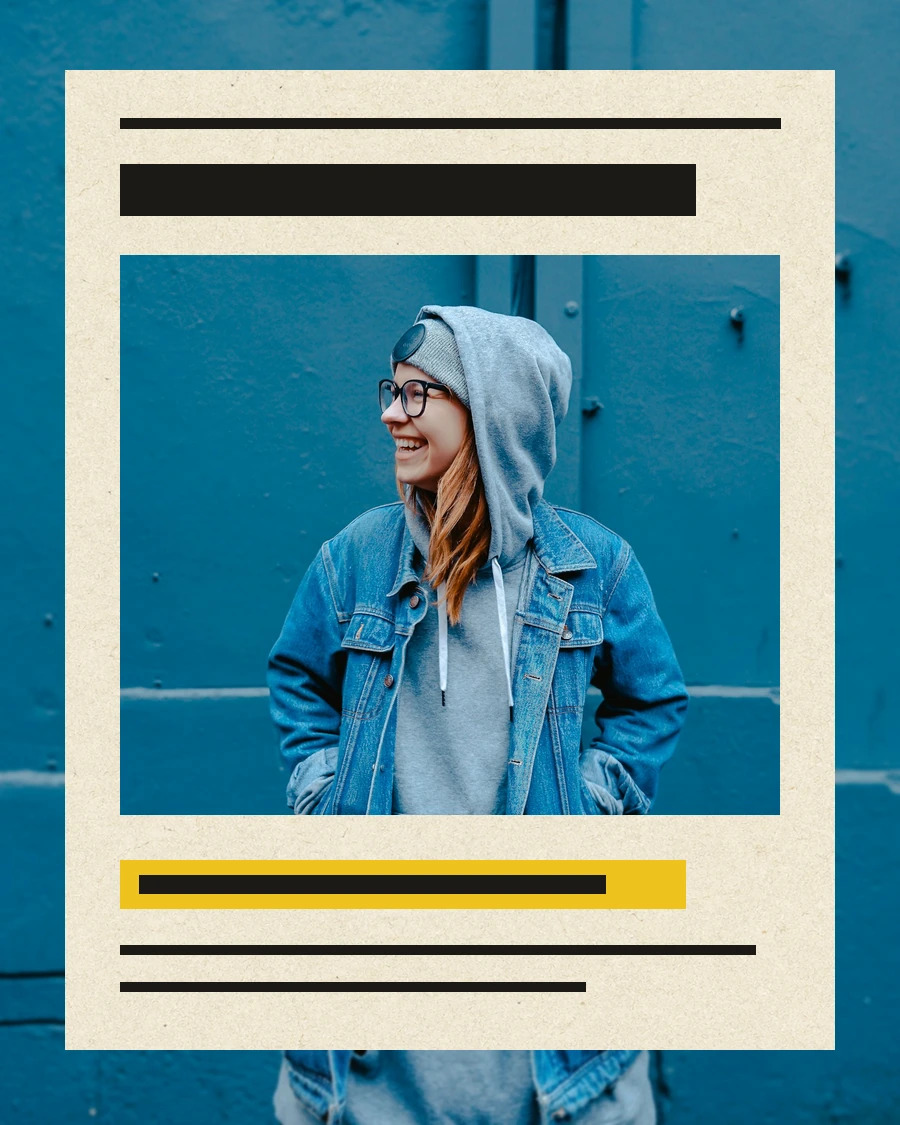
Newspaper highlight paper animation example
IMAGE / EDITORIAL NOTE01
01

1. THE ONE-LINE OPINION

Input one portrait or product image, then use Newspaper Highlight with a short headline and one highlighted phrase. The paper enters quickly, the photo settles into the page, and the marker lands on the words that carry the opinion. Fast pace works well when the following clip is a talking head or a voice-over that expands the point.

Keep the headline concrete. A line such as "Three details changed the launch" gives the viewer a reason to continue. Keep the highlighted phrase shorter than the headline so the marker functions as emphasis rather than a second headline.

A useful test is to mute the clip and look at the first frame where the highlight settles. If the phrase still reads as the subject of the shot, the hierarchy is working. If the viewer notices the marker before the words, reduce its size or delay the sweep by a few frames.
02

2. THE PORTRAIT INTRO

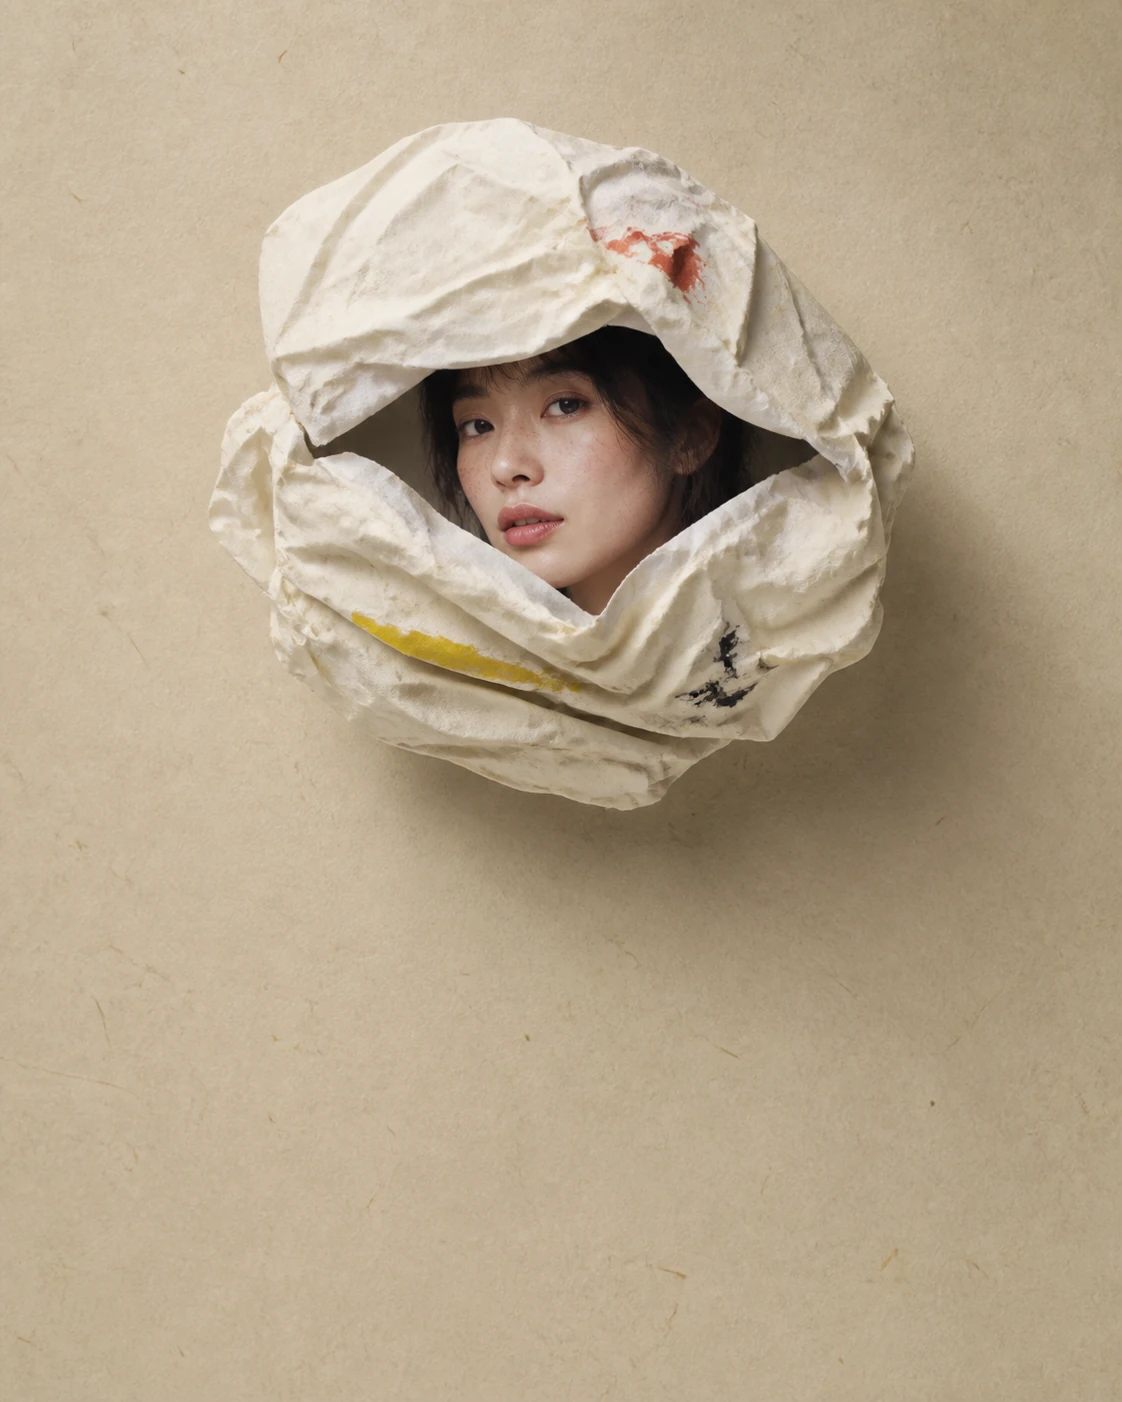
Use Crush Reveal with one high-resolution portrait. Start on a compact paper form, open the photographed plates, and finish with the complete portrait. The final hold can carry a name, a cut to a talking-head shot, or the first line of a voice-over in the next clip.

A portrait works best when the eyes survive the fold and land away from the platform overlays. Use Fill when the face is already well placed, and use Fit when the surrounding context matters as much as the face.

This example also works for a creator introduction or a guest announcement. Keep the final hold clean and place the name in the next edit layer when the type needs to match an existing brand system. The paper remains the entrance, while the longer identity treatment stays editable.

03

3. THE TRAVEL RECAP

Upload five photos to Scrapbook Photo Stack in the order of the day. Choose Travel Recap, set the focus point for any off-center face, and let the cards arrive with varied rotations. The final image should be the strongest location or the moment that best summarizes the trip.

The stack creates a visual rhythm without requiring a separate paper frame for every beat in the edit. Add the current sound and captions in CapCut or the destination app, then trim the final hold if the sound changes earlier.

Order matters more than quantity. Start with a wide scene, move through one or two details, and end with the image that gives the recap a feeling of arrival. Eight similar frames create noise; five frames with different visual roles create a small story.

04

4. THE BEFORE-AND-AFTER

Torn Paper Wipe is a direct choice for a retouch, outfit, room, packaging, or product upgrade. Place the Before frame first and the After frame second. Diagonal Rip creates the strongest sense of movement; Horizontal Tear reads more like a page pulled upward.

Use images with roughly similar subject placement when you want the change to feel immediate. Use different compositions when the tear itself is the transition and the contrast between the two frames is part of the reveal.

For a makeup or outfit change, keep the subject in roughly the same central position and let the paper provide the surprise. For a room makeover or packaging update, a larger difference between the Before and After frames gives the tear a clear visual payoff.

05

5. THE COMMENT REPLY

Open Text Match Cut and type the central phrase from the comment or reply. The generated social layouts keep the active word near the same position while the surrounding comments, avatars, and reactions change. It gives a creator a text-led opening that can lead into the spoken answer.

Keep the phrase short enough to read in one glance. Use the seed to test a new arrangement without changing the words, then lock the seed when the alignment feels right. The fictional interface elements support the composition and should remain clearly separate from real user claims.

The strongest version treats the comment as the question and the next shot as the answer. Avoid stuffing the entire reply into the generated feed. One recognizable phrase creates a cleaner handoff to a creator's voice, face, or screen recording.

06

6. THE LAUNCH TITLE

Magazine Letters works when the phrase is the hero. Use a short title, choose a paper family with contrast, and let each letter enter with its own small variation before landing on a stable line. The effect suits a product drop, a collection name, a series title, or a section marker inside a longer edit.

Give the letters enough width to survive mobile compression. A five-word title can work, though a compact two- or three-word phrase usually lands faster. Keep punctuation minimal and use the final hold to let the line be read.

Try the title against the first frame of the footage that follows. The cutout letters can announce a chapter, then leave enough contrast for the next shot to feel like a new section. When every frame carries the same large type, the animation loses its role as a transition.

07

7. THE PRODUCT DETAIL

Use Scrapbook Photo Stack with three product images: a full view, a detail, and the object in context. Choose Product Stack and adjust the focus box on the detail image. The cards give the sequence a tactile frame while the final full-screen shot gives the editor a clean product moment.

A neutral paper style keeps packaging color accurate. Avoid adding a large decorative title when the product label already carries the information. If a spoken demo follows, end the stack a fraction before the first sentence so the cut feels deliberate.

Use the detail image as the card that arrives closest to the viewer, then let the clean final shot carry the purchase decision. This ordering gives the viewer context first, evidence second, and a recognizable object last.

08

8. THE FAST FACT

Use Newspaper Highlight with one image, a headline, and one highlighted fact. The Fast preset works as an opening card for a list, explainer, or commentary edit. Vermilion gives the marker a sharper editorial tone, while yellow feels more familiar as a highlighter.

The strongest fact is usually the shortest sentence. Put the context in the next shot or caption. The paper animation should create a pause where the viewer knows what to listen for, then release the story into the rest of the edit.

A fact card benefits from contrast between the photo and the paper. A dark portrait, a saturated object, or a simple graphic gives the newsprint enough separation. If the source is already pale, use the marker color and a stronger headline weight to keep the first read clear.

09

A QUICK CHOICE GUIDE

Choose the template by input count first, then by the emotional role of the motion. One image can become an opening reveal or an editorial statement. Multiple images need an ordered stack. Two images need a boundary. Text needs a controlled layout that keeps characters sharp.

The final decision is the destination. A hook wants speed and a strong first second. A recap wants variation and a readable ending. A before-and-after wants an unmistakable boundary. A title wants a stable landing frame. Match the motion to that destination and the same asset can work across several edits.

  • One image + a physical reveal: Crush Reveal.
  • One image + a headline: Newspaper Highlight.
  • Three to eight images: Scrapbook Photo Stack.
  • Before + After: Torn Paper Wipe.
  • Phrase-led opening: Text Match Cut or Magazine Letters.
10

TURN AN EXAMPLE INTO A SERIES

One good paper animation can become a repeatable format. Keep the same template and change the photo, headline, or phrase for each post. Repeating the motion gives the series a visual signature, while the changing source keeps the content current. Use the seed when you want a stable look and change it when a new arrangement adds useful variation.

Save the settings beside the post brief: input count, template, pace, paper tone, crop, and final hold. That small record lets the next video start from an approved version instead of from a blank editor. It also makes it easier to test whether the audience responds to the idea or only to one unusually strong source image.